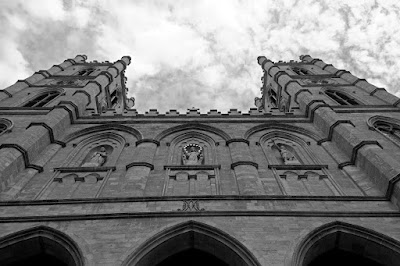
So I decided to go on a mini-getaway to Montreal with KL. We were exploring Old Montreal and happened upon Notre Dame Basilica. Fascinated about the history behind the church, we decided to "donate" $10 dollars to see the inside. Not knowing what to expect, we were pleasantly surprised at how rich and colorful everything looked. So out came my camera...
Also, I felt the images taken inside could be used to demonstrate the sharpening tool in PS.
Sharpening your images can help you bring out more detail. It is usually one of the critical steps performed in post-processing of most digital images. If you have Photoshop CS5 and you click on the "Filter" pull down menu, you will find the tool that helps you "Sharpen" your image. Next you will see the following options: sharpen, sharpen edges, sharpen more, smart sharpen... and unsharp mask... According to my photography instructor, all those options are garbage except for
unsharp mask. Unsharp masking, contrary to its name, subtracts a blurred copy of the image away from the original image leaving behind the "unsharp mask." Contrast is increased at the edges of the original image and this gives the illusion of a sharpened image. If you want a more detailed explanation, you can visit http://www.cambridgeincolour.com/tutorials/unsharp-mask.htm.
So once you click on unsharp mask, the recommended settings are: Amount: 100-150%, Radius: 1.0 pixels, Threshold: 0.
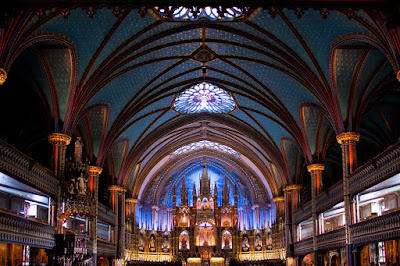
Above is an image before being edited. Some people may prefer the softer image above while others may prefer the sharpened image below. (F-3.5, 1/10 exposure, ISO 1600)


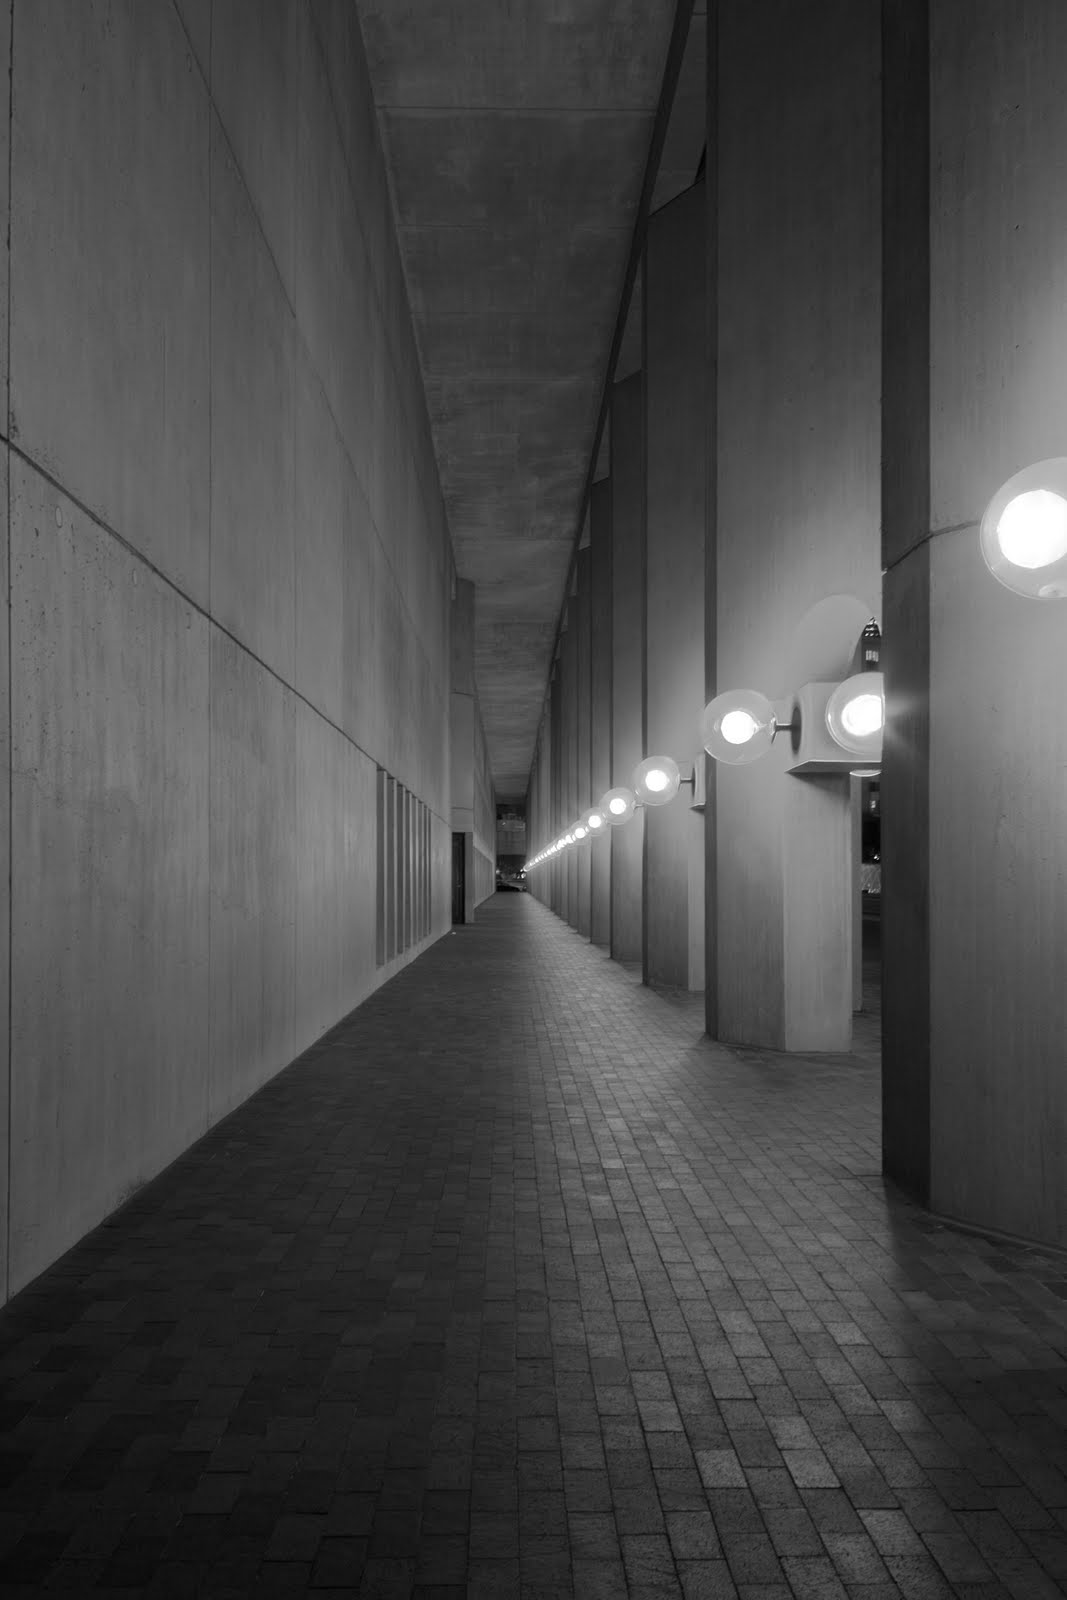


 F-11, 1/640 exp, ISO 400
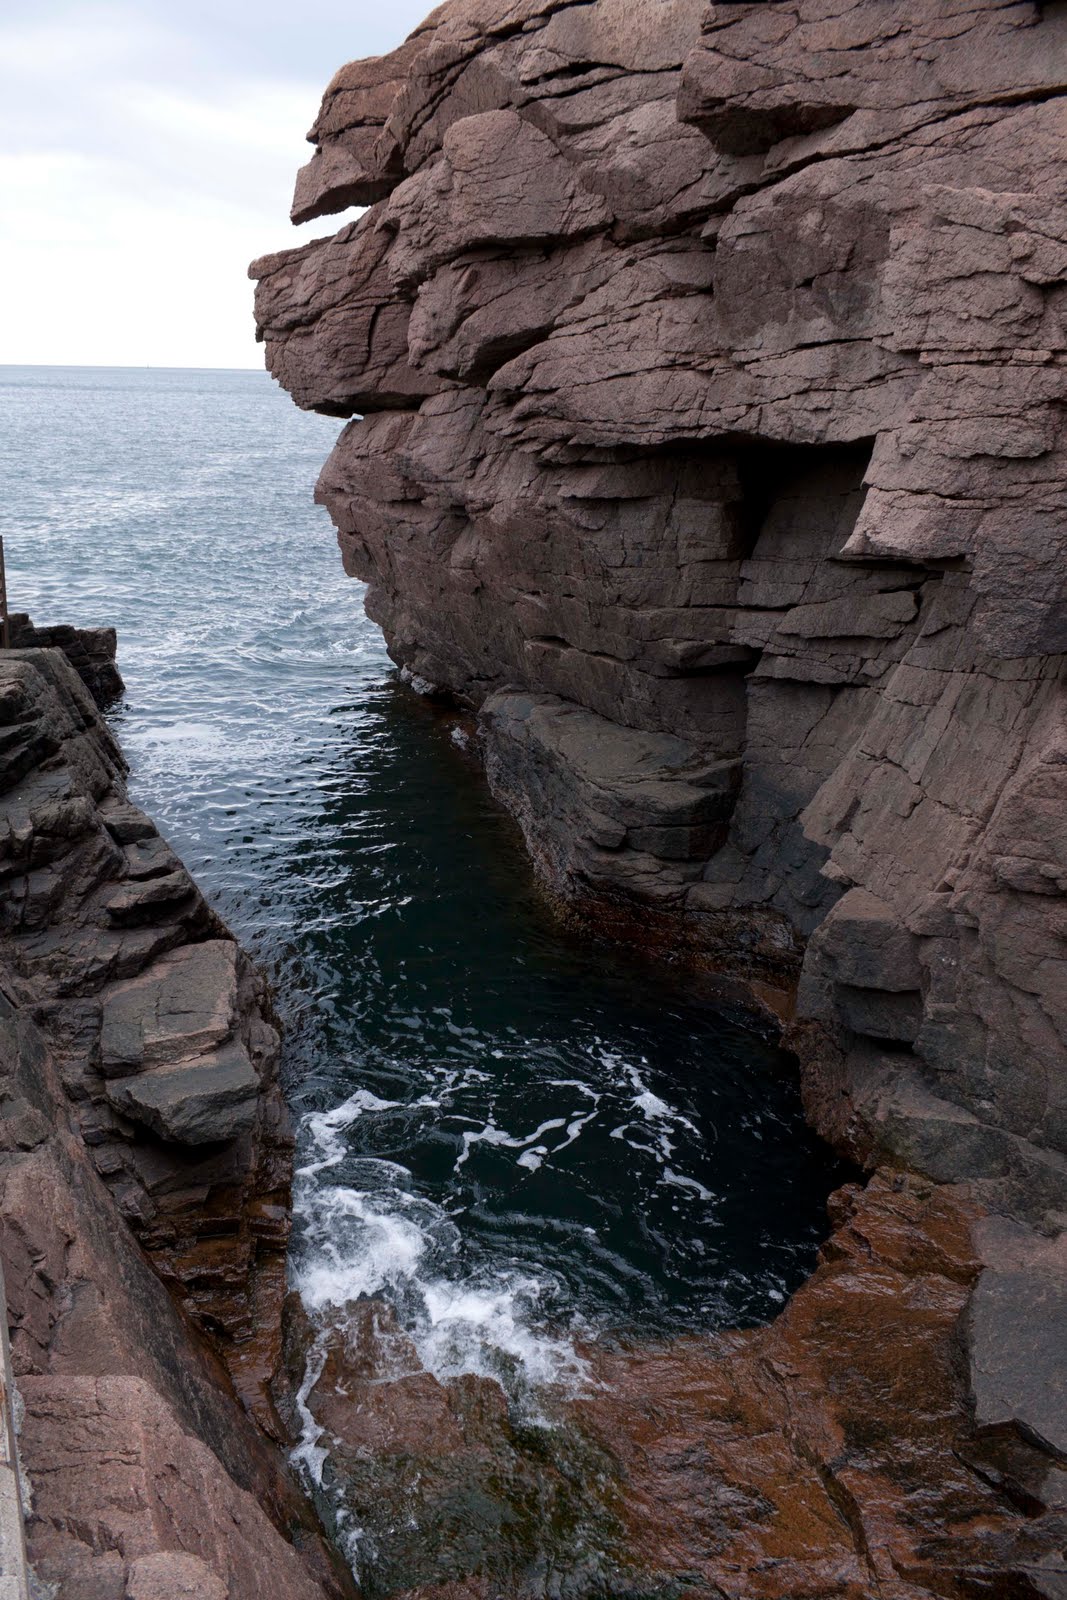


